
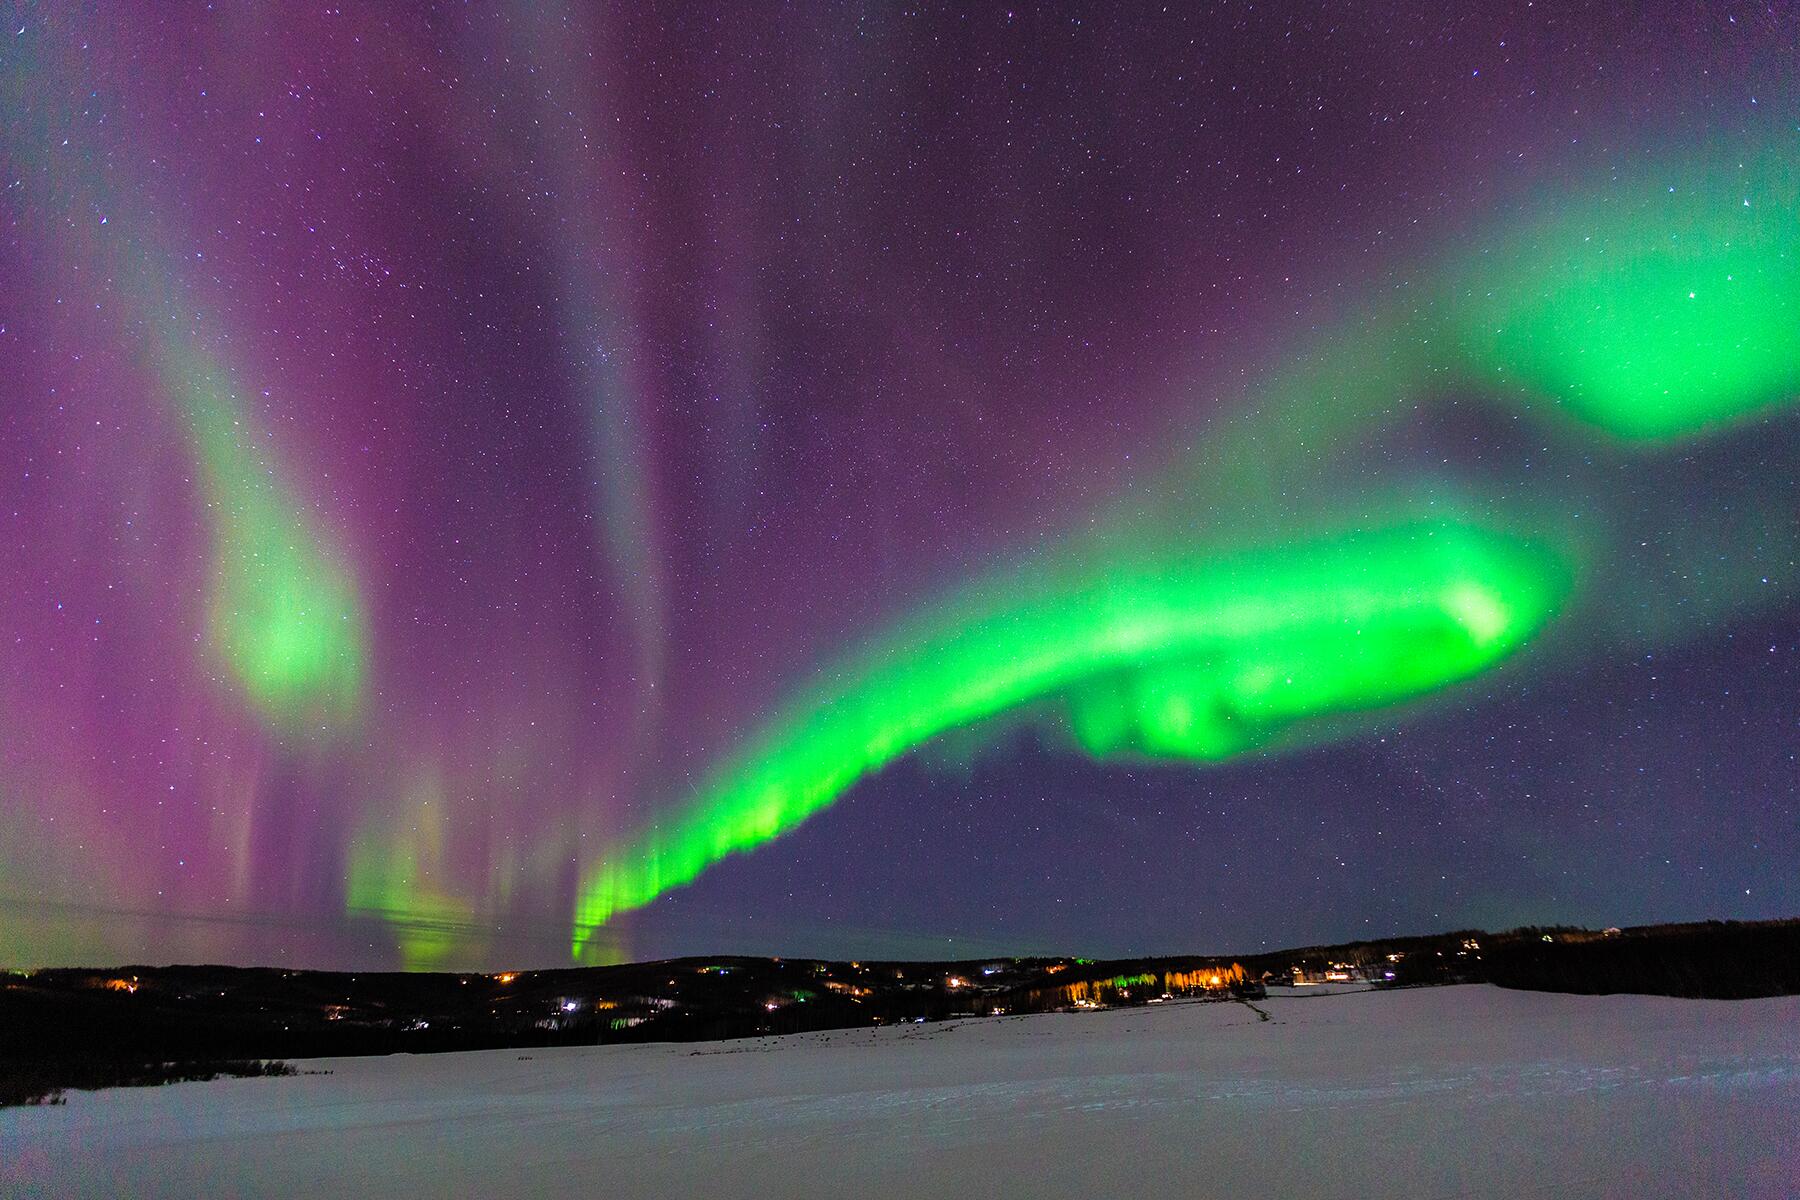
As we move closer to Earth’s magnetic poles, solar particles from the sun’s flares collide with gases in the Earth’s atmosphere and they create red, purple, and green curtain-like lights which dance across the sky called aurora borealis or, more commonly, the northern lights. Just seeing these once-in-a-lifetime phenomena is amazing, but for those who would like to capture the lights, here are some tips for better photographing them.
By Lola Akinmade Akerstrom
Choose your location wisely
Planning is as important, if not more, than your camera gear and will increase your chances of viewing these elusive lights. Northern Lights usually make a strong appearance during cold dark winter months from late November to mid March between latitudes 65 to 72 degrees. Ideal conditions for clear views are crisp, cold, and cloudless skies with little moonlight.
This means there are a few places on earth that maximize your chances of catching the lights. The town of Tromso in Norway is a popular spot for catching the lights. Swedish Lapland's "Blue Hole" in Abisko—a patch of sky that remains clear regardless of surrounding weather patterns—makes it another ideal location for seeing auroras.
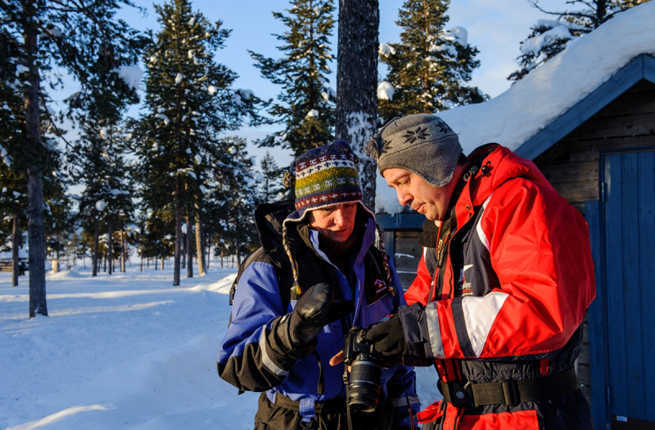
Work with a local guide or photographer
When I was photographing northern lights in Swedish Lapland, I worked alongside local Swedish photographer Peter Rosén who has been professionally chasing them since 1999. His local knowledge of the area meant we were able to move away from sources of light pollution at night and head deeper into the darkness to further increase our chances of witnessing auroras.
While many photographers chasing the lights may want to move around on their own, it's best to travel with a local photographer who knows your chosen location well and can guide you because they know the best places that offer up the best angles of the auroras.
Schedule at least three days
The lights can last from a few minutes to all night long and can occur over several days. Usually when sun flares happen, their most dramatic effects on the earth's atmosphere occur within 24-48 hours of solar activity.
I scheduled three days in Lapland to catch and photograph the Northern Lights and while I was lucky to have had activity on all three nights I was up there, the strongest showing came on the third night in Abisko National Park which was about 48 hours after a strong solar flare from the sun a few days earlier.
You can check out the Space Weather Prediction Center's Aurora Activity monitor that records solar and geomagnetic storms which cause auroras. It can give you a good indication of aurora activity over certain latitudes.
Switch to manual camera settings
If you've never played with your camera's manual settings, you may want to start learning how to before photographing the northern lights. Because you will be shooting in near pitch darkness, you want to be able to override your ISO, aperture, and shutter speed settings and have full control.
You want your light sensitivity (ISO) to be between 200 and 800 so your images don't come out too grainy. You want your aperture to be between 1.4 and 4.0 which will allow as much light as possible into the camera's image sensor, and you want a slow shutter speed between 10-30 seconds so that your camera can optimally process the image.
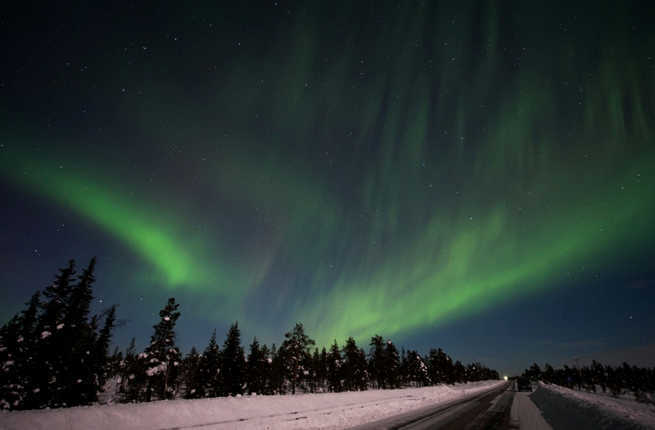
Invest in a wide angle lens and remove filters
Because the northern lights often engulf the entire sky overhead, you want to be able to capture as much of the lights as possible using a wide angle lens. Since you can't really step back and away from the lights because they're usually all around you, a wide angle lens will ensure that you shoot your surroundings alongside the auroras to give them a bit more context. And it's best to take any filters off so they don't distort the color and how the camera interprets the light.

Manual focus is key
Most cameras have a difficult time auto-focusing in low light and night conditions so shifting to manual focus will help you set your camera's focus to "infinity" because auto-focus just won't work.
When there isn't a close subject to focus on, setting your focus to infinity allows the camera to focus on a distant landscape or object, and in this case, the auroras in the distant sky.
During the day, you can try to find and mark where the manual infinity focus on your lens has to be to give you the sharpest image.
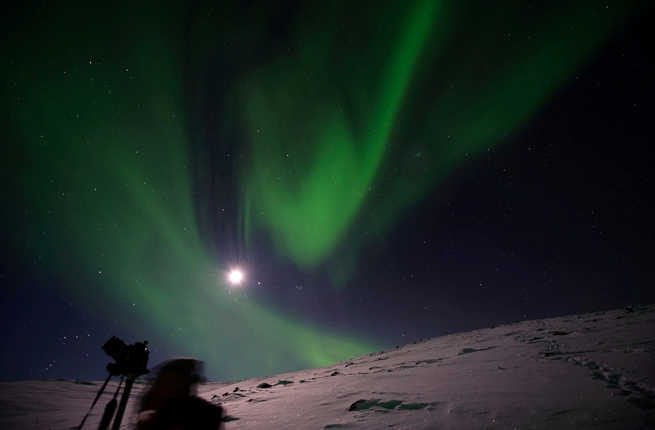
Go with a tripod and remote release
Night photography is extremely tricky because there isn't enough natural light around for your camera's extremely sensitive image sensor to use. Any mild camera shake will result in a blurry unusable image. So the number one gear you need alongside your camera for photographing northern lights is a sturdy (because you'll be digging it into the snow) and tall (because you want to point it skywards) tripod which you can mount your camera on.
Ideally you should also have a remote shutter release that allows you to fire off the camera without physically touching it to reduce any chance of camera shake. If you don't have a remote release, you can set your camera on a 3-5 second timer before firing.
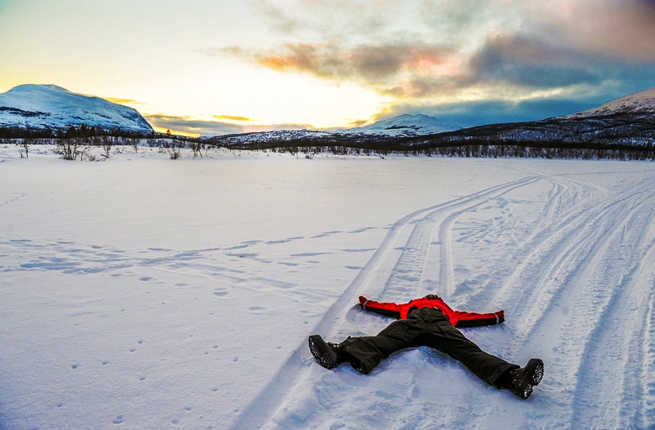
Dress appropriately
Because auroras need cold, clear, cloudless skies in subzero degree temperatures to manifest themselves, you need to be bundled up in layers for winter weather. Think thermal underwear and a couple warm layers underneath your jacket to preserve your body heat; a heavy scarf and warm cap to prevent heat loss; thin gloves for when touching camera controls and large thick mittens on top of those; and thin socks and large thermal socks over them.
Pack smartly
Next up, you need to pack smartly because chances are you will be far away from any shops or sources of electricity so you want to make sure you have extra fully charged batteries which you should keep in inner pockets close to your body heat.
Extra memory cards are essential because you want to keep shooting without worrying about space. Plastic bags or waterproof case will protect your gear from the wet snow and condensation. A headlamp or flashlight so you can see your camera settings in pitch darkness. A bottle of water and snacks, and a cell phone for security in case you get stranded or need emergency help. Your guide will most likely have a cell phone.
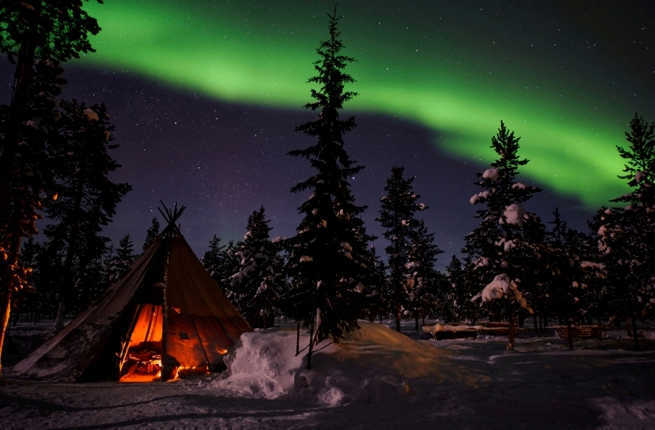
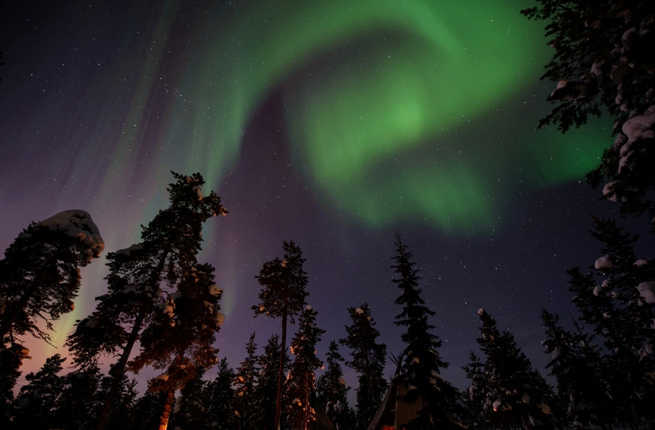
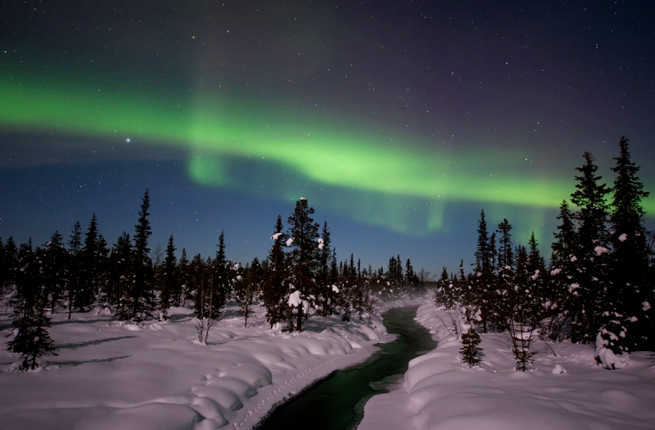
Find creative foreground subjects
The lights are impressive on their own but what usually makes memorable aurora photos is having an equally interesting subject in the foreground. Being creative in terms of composition and context helps you get better photos. I spent two nights at Nutti Sami Siida's reindeer lodge which had tentipis similar to those used by the indigenous Sámi set up on the property. Once green lights began dancing across the sky ahead, the tentipis in the foreground added ambiance to my photos making them memorable.